Well, a lot of time has passed since the last time I made an update to the ECS Survivors project. Life has a way of well... getting in the way of things, or you could also say I got a bit lazy. But at long last, I've come to tell you all about the shiny new features that ECS Survivors holds!
In this instalment of the series, I'll cover the many systems and features that were introduced over the 4 "parts" or 7 months (has it really been that long!?!). My memory might not recall some of the details for each update, so I will give a surface-level explanation rather than going more in-depth as I did with the other posts. Without further ado, I now unveil the weathered, dust-riddled curtains! (I've been reading a lot of Tolkien recently and find myself in awe before his imagery, metaphors and similes. I want to integrate that style into my casual writing, so sorry about that 😄)
Part VII - Tilemaps
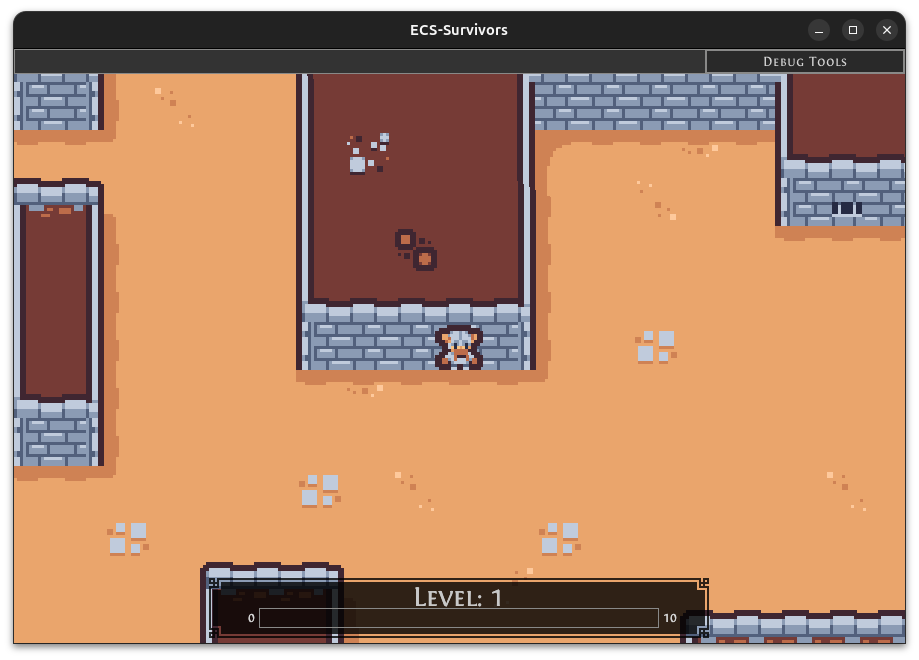
I wanted to give a little life to the game; So far at this point, the background was of a simple, dull gray. Tilemaps are fundamental to most 2D platformers, top-down adventures, survivors, and others of the likes. In this instance, I didn't want to reinvent the wheel and create my own over-engineered level-editing tool, no! Tiled is a fantastic tool to quickly create intricate levels and embed metadata along with them. Identifying collidable objects, such as the map edges very easy. I used the tmxlite library to load-in the tilemap file. Early on, I simply created a new tile instance for each of the ones specified in the original file and drew each one individually. The same logic was used for the colliders of the tilemap; I created a box collider for each tiled which has the embedded metadata.
Now, the keen of you will notice that both of these implementations introduce sub-optimal behaviour.
- For one, drawing each tile individually, while not a tremendous issue, can quickly get out of hand as the size of the map increases. A simple tilemap of size 64 by 64 will result in 4096 draw calls, and that's just too much to do every frame. A rather clever and trivial solution exists. We will only draw each tile once, then take a "screenshot" using the Raylib RenderTexture, and from that point, we only need to draw the screenshot, reducing the draw calls to 1. Later, we might have dynamic elements on the tilemap, such as destroyable boxes, opening doors, and those we can draw individually, since there will be very few.
- The second issue is quite more performance hungry. Again, in the case of a 64 x 64 tilemap, in the worst possible case, there are 4096 new colliders. This is unacceptable for performance so we need to simplify the colliders. A basic, yet efficient approach is to implement some sort of greedy meshing algorithm to maximise the surface area of the colliders. I found this blog post for Roblox, it breaks down the algorithm in depth. Using this technique, we can drastically reduce the amount of colliders, especially in larger areas such as the map boundaries.
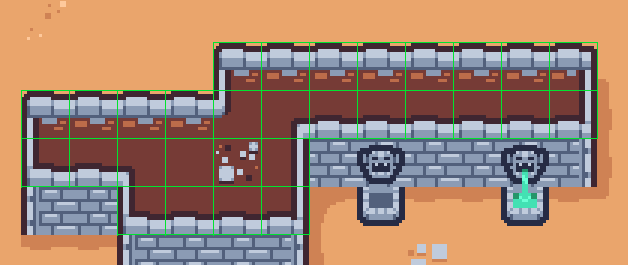

Before: Each tile has a collider (30 colliders) | After: Colliders are merged (4 colliders)
Part VIII - Accelerated Collisions
At this point, our collisions worked well, as soon as we want to scale up the difficulty of the game, by introducing thousands of enemies, then our current, quadratic, implementation of collision detection and resolution will not be up to the task. Hence, we will add a simple yet efficient acceleration method for collision lookups — a spatial hashing grid. Simply put, right now, when we detect collisions for one entity, we perform checks with every other entity (n x n). In a spatial hashing grid, we split up the area into multiple cells, and now looking for a collision with an entity will only look for other entities within its neighbouring cells. I recommend you look at Ericson's Real-Time Collision Dectection Book (2004), specifically chapter 7.1 - Uniform Grids. There is not much else to talk about for this update, apart from maybe the performance gains from the acceleration structure. We go from 600 to 7000 colliders now, more than 10x performance gain!
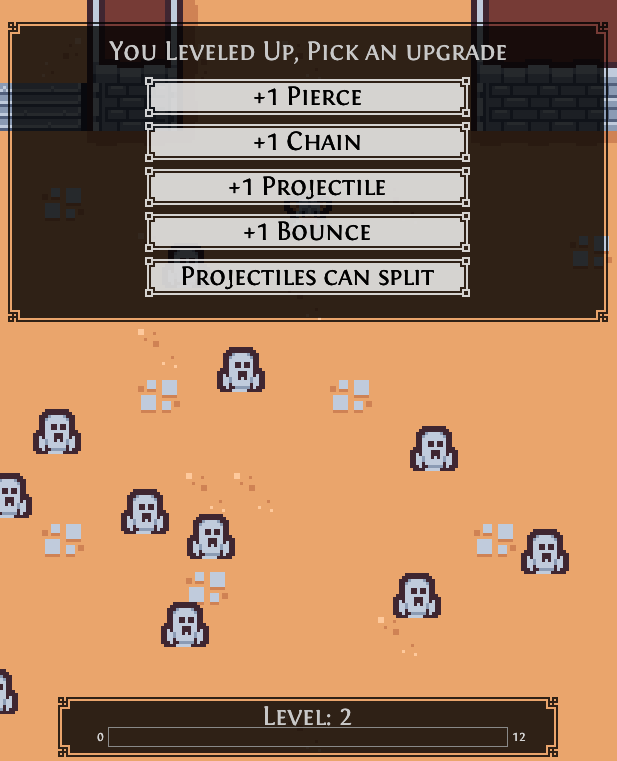
Part IX - Levelling Up
We're making a game, of course, we need some kind of progression mechanic. What's typical for survivors-like games is that after you have gained enough experience through picking up somekind of experience resource, or just through eliminating an enemy, you get to pick from three random power-ups. I decided that we would only need to slay enemies to gain experience, and for now, at least, the player would have fixed choices when they level up. This will likely change once there are more abilities and ways to enhance them. It's really just that simple, I get to use the GUI framework I built and voila! We have player progression in our game.
Part X - Yet Another Refactor
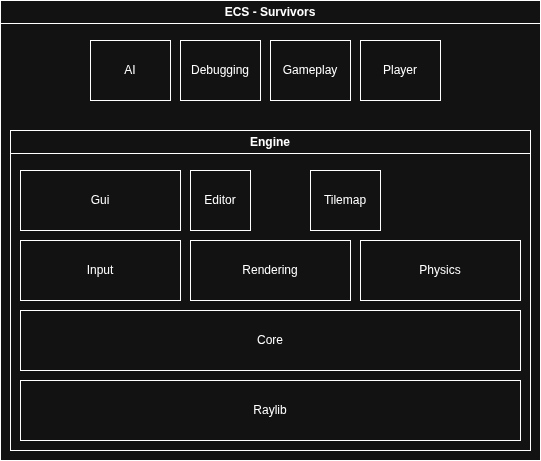
So this part is the one that took the most time and burned me out a little. At this point after finishing the levelling up, I wanted to work on more gameplay features, specifically I had been playing around with procedural generation (see my other post) and wanted to introduce it in the game. But in order to do that, would need some kind of tool to build the procedural generation rules and such. But to build the tool, I would need to refactor my code yet another time, to allow me to have the same window manager for both the game or any other app. You can probably see now that this is somewhat of an endless spiral of requirements and heavy alterations of the current codebase. In any case, I worked and thought for a long time to properly separate my code into somekind of layered architecture. I'll do my best to detail everything.
File Hierarchy and CMake Configuration
So first thing I wanted to reorganise the file hierarchy because it was starting to be messy, but this was mostly so I could generate different libraries and build targets. This allows me to, if necessary, create a GitHub repo for each module and keep them truly as separate projects, avoiding tight coupling. It also makes it more explicit and harder to import from a module that you shouldn't be using, since the target links are defined in the CMake files. For example, including any file from the rendering module into the input module is impossible. The only limitation to this system is that I might be tempted to include a module I shouldn't, out of laziness.
input/cmakelists.txt

target_link_libraries(input PUBLIC
        base
        core
        raylib #only using the datatypes
        flecs::flecs_static
)

input/input_module.cpp

#include rendering/components.h // this will complain that rendering cannot be found.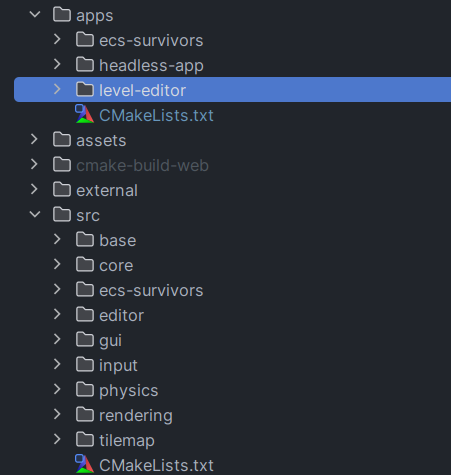
Applications
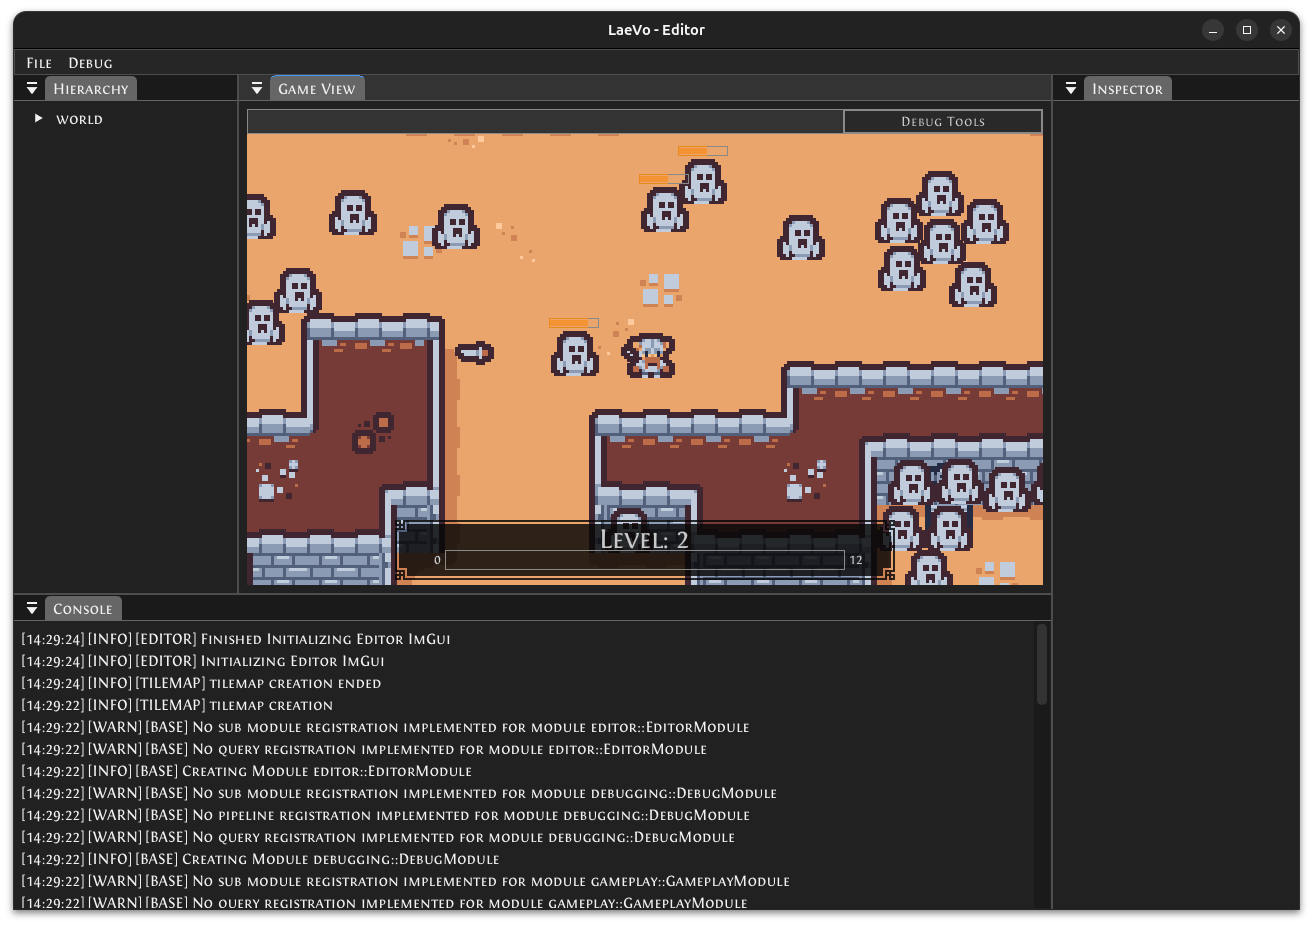
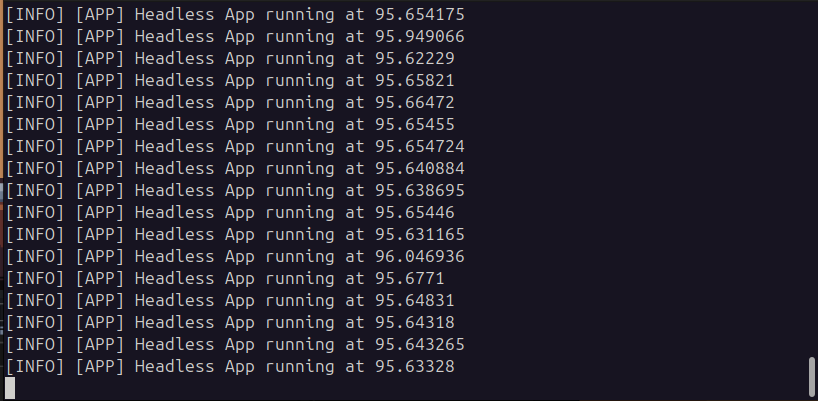
Next, I thought it would be a good idea to build separate apps, using the same new modules I refactored. So I have a base Application class, with an init() and run() function. This clas,s however, does not depend of Raylib, so it can be instead used as a headless application for something like a web server if I eventually want to make some networking features. I also have a GraphicalApplication class, which is essentially the same but includes Raylib for the windowing. From these, I was able to create ECS-Survivors, the original game, an Editor for ECS-Survivors, and finally, a basic headless app, just for the proof of concept really.
Logging
You've probably noticed in the screenshots that there was some formatted console logging. Well, every good editor must have some logging, so I ended up making a very simple one. The logger is a singleton, where you can register a "sink", an anonymous function that handles the logged message and other info. So a basic Application will print to the console by default (default implementation of the init() function). For the editor, we can simply add another sink to print it to the text block element at the bottom
// Application init()
Logger::Instance().AddSink([](LogLevel level, LogLocation loc, const std::string& message) {
    std::cout << Logger::Instance().get_level_string(level) << " "
              << Logger::Instance().get_location_string(loc) << " " << message << std::endl;
});
// editor/editor_module.cpp
world.system<Console>("forward logs to editor console").kind(flecs::OnStart).each([](Console &console) {
core::Logger::Instance().AddSink([&](core::LogLevel level, core::LogLocation loc, std::string message) {
std::stringstream s;
s << core::Logger::Instance().get_level_string(level) << " "
<< core::Logger::Instance().get_location_string(loc) << " " << message << std::endl;
console.logs.push_back(s.str());
});
});Conclusion
There are still many changes that I made that I haven't quite covered in this blog post, nor will I in the future. I tried to bite off more than I could chew, especially in the later update, which slowed down my overall progress, and I forgot the smaller details that constitute the progress I've made. The worst part is I still have a bit of cleanup left, but I think ECS-Survivors is in a good enough state for me to work on a new feature. It seems like there are never-ending side quests with this project, which is great, but looking forward, I have to focus on one thing at a time, that is for sure! What's next? Well, I'm not quite sure yet. I'd love to focus on gameplay elements; maybe a melee attack would be nice to have. See, a nice and simple scope, haha.
As always, the latest playable build is available on Itch.io, and you can access the source code on GitHub. Until next time